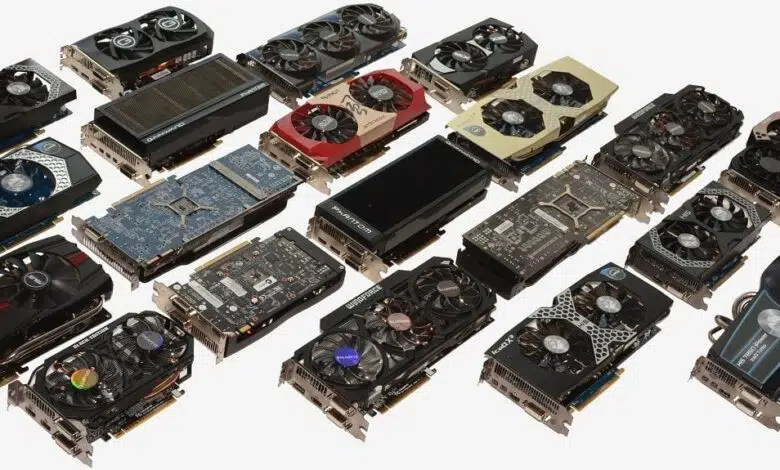
Maintaining a graphics card is as necessary as giving it to any other component of our PC. Depending on its use, the recommendations for these preventive maintenance vary over time.
This guide seeks (like the previous ones written) to give a step-by-step guide in the simplest way possible so that you can carry out in this case, the maintenance of changing the thermal paste, cleaning the fans and the radiator.

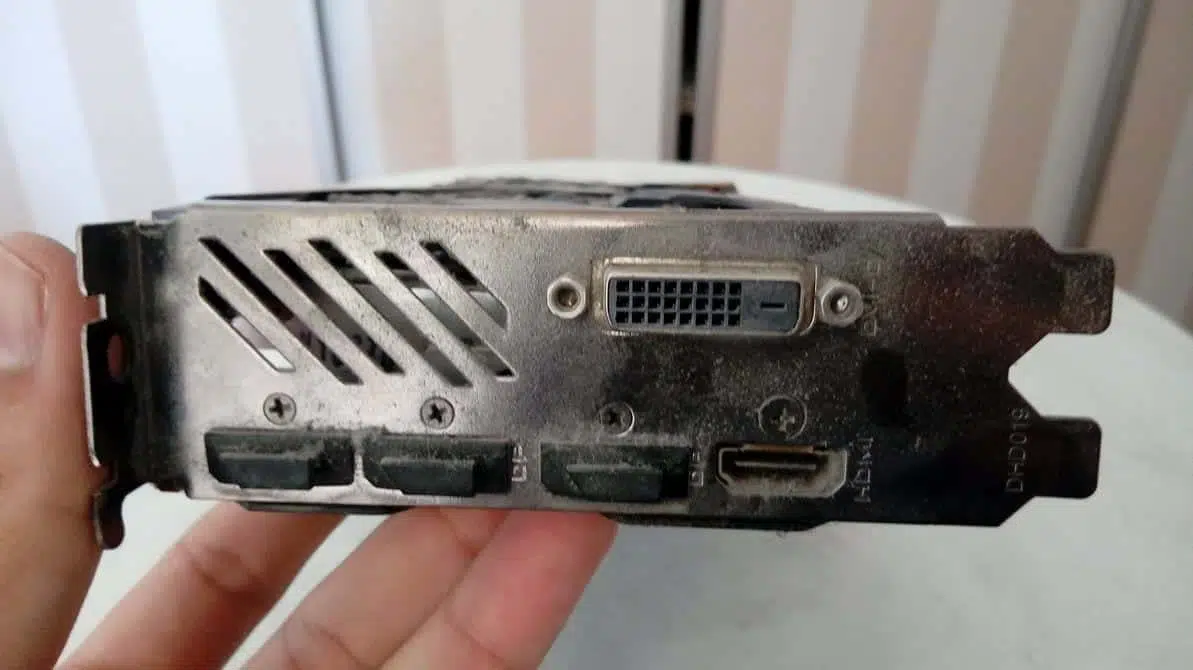
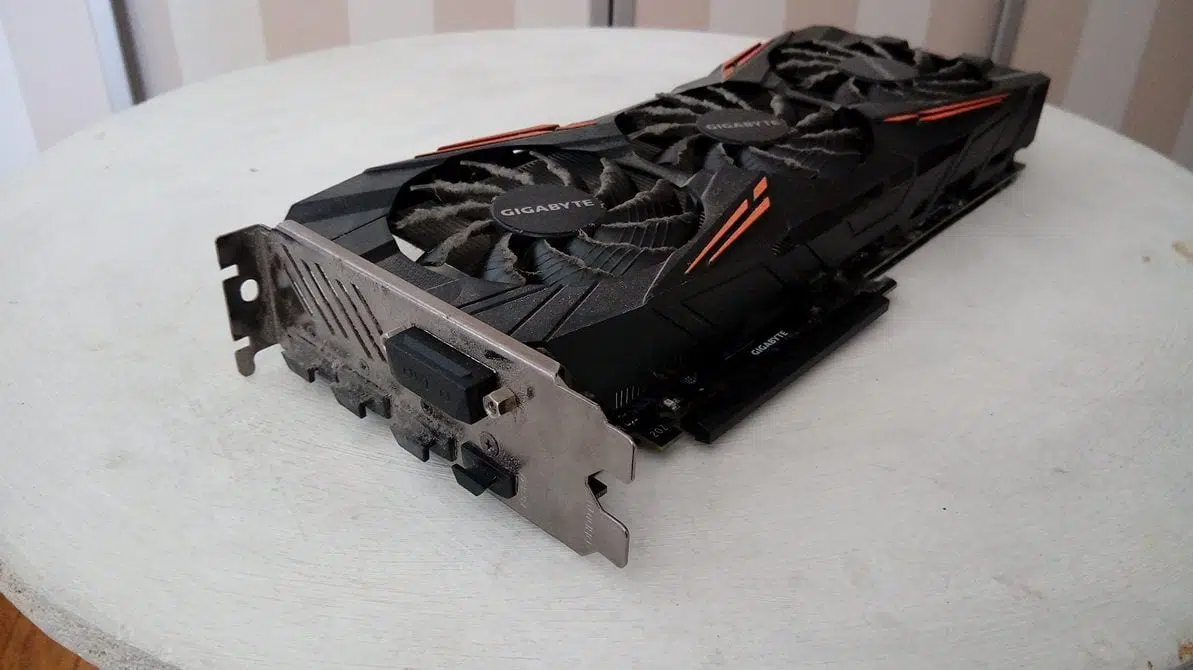

Table of Contents
TEAM
To perform maintenance on your graphics card you will need the following items:
- Isopropyl alcohol
- Compressed air
- Brush
- Paper
- Thermal paste
- Screwdriver

Procedure

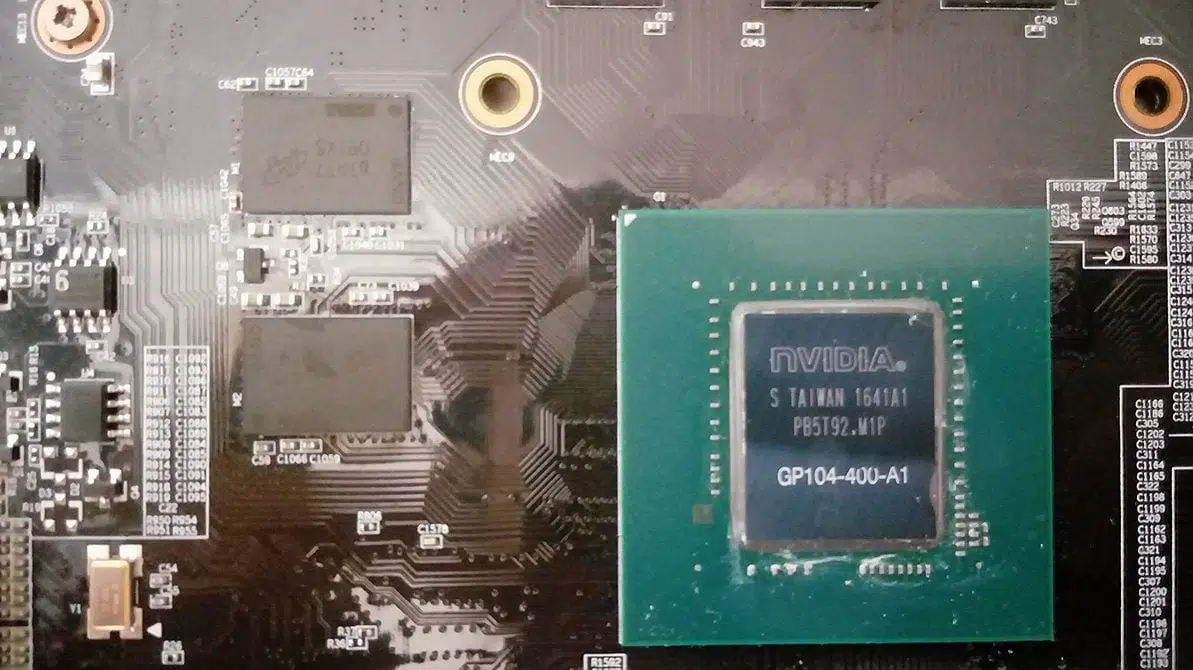
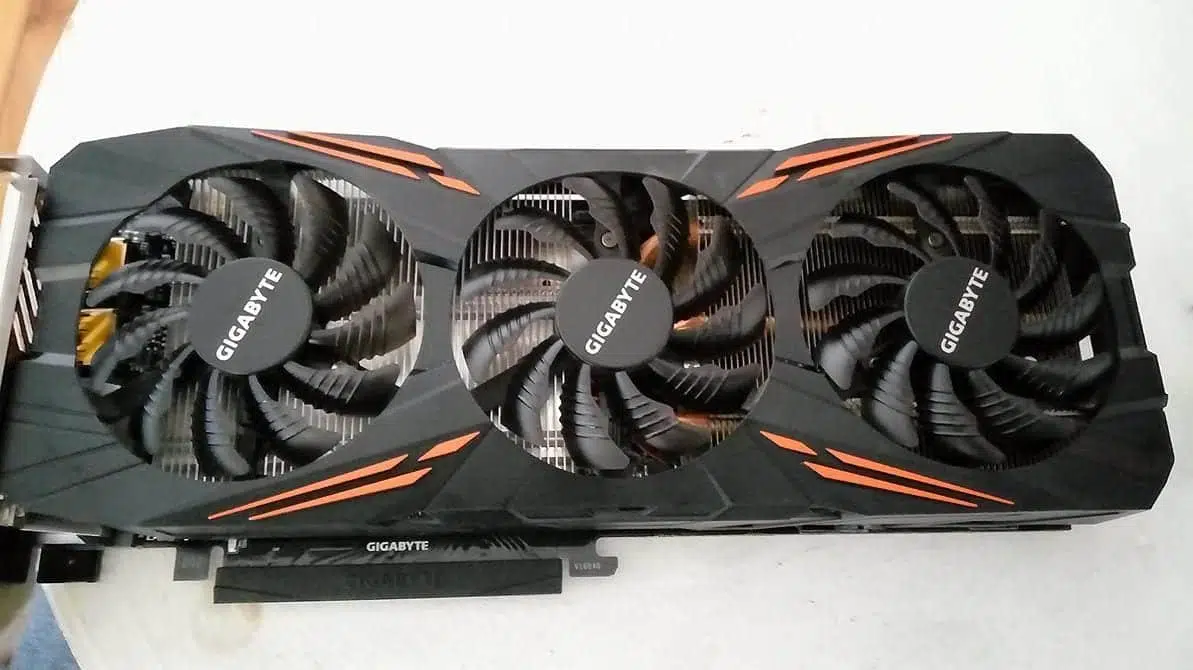
The procedure is really simpler than it seems, to be able to separate the radiator from the plate, simply remove seven screws. Four screws that have a spring, these are surrounding the processor of the board and in the case of the example in the photo that is a GTX 1080 only three more screws that are also on the backplate.
The next thing that can happen most likely is that once these screws are removed, the plate and the radiator are still attached and you may think that you need to remove some other screw (as was my case) but this is because the paste made the plate and the radiator will stick.
To be able to separate safely and without making much effort, you can insert a plastic card between the plate and the radiator and use the screwdriver as a lever between the plastic card and the metal base in a VERY SOFT To avoid damaging anything, use the photo as a reference to where you can pry.


When the paste peels off, be careful since the fans are connected and you must disconnect only one, you can disconnect all of them if you wish but it is not necessary.
Once disconnected you can open the GPU and the radiator has four more screws that are attached to the chassis, these are two on each side.

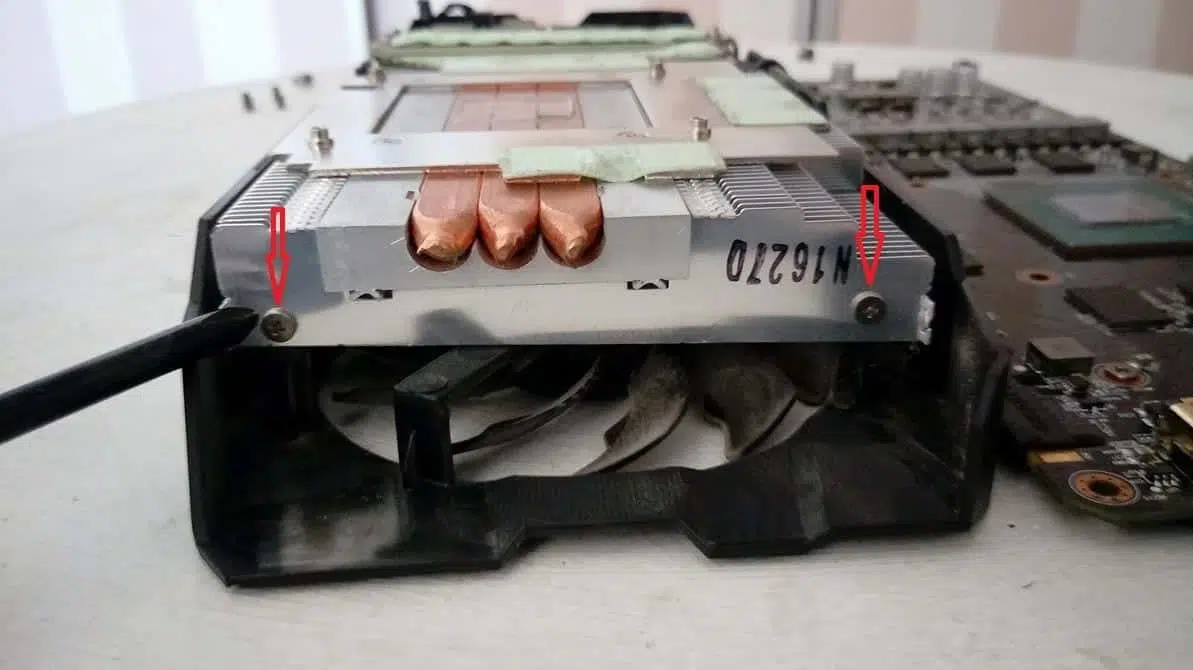
RECOMMENDATION: These radiator screws are very small and at least on one side, difficult to access, so you will need a screwdriver with a magnetic tip or, failing that, tweezers with a fine tip, otherwise it will be excessively difficult (or impossible) to put them back.
Once the radiator is separated from the fans, you can use the brush to remove most of the accumulated and encrusted dust so that it does not fly everywhere, then use compressed air.

graphics card thermal paste
For this step, simply take some paper, remove all the excess paste possible and the remainder or the most encrusted remove it using a little paper dampened in isopropyl alcohol, make sure to clean everything well.

Once you clean the paste from both the GPU and the radiator, place a drop on the IHS, how to spread it is at your discretion since everyone will tell you a different way, I for my part prefer to spread it with a plastic card for the entire surface of the IHS evenly as you can see in the photo.

Reassemble

Now simply start joining the radiator with the chassis by placing its four screws. Once the radiator and chassis are joined, reconnect the fan cable to the plate, when joining this with the plate, use this as a guide that I show in the photo below.
Replace the seven screws on the backplate and your GPU will be as good as new.
Conclusion on maintaining a graphics card
Before servicing this GTX 1080, its constant temperature was 71˚C, later its temperature dropped to only 64˚C, an improvement of 7˚C quite important now for the summer.

As I have already said, the maintenance of a graphics card is very simple, even if you do not know about computers, just remember, do not touch what you do not know what it is, stop where you doubt and ask before proceeding further if you are not sure (what was the what did I do).
For those who have their rig, it will happen like me, that as I cleaned one, the next one was easier and faster.


You only had to say for the new ones that if it is under warranty, it is better not to touch it, they usually have some type of seal (usually on one of the screws) and lose the warranty in case they have to send it for some reason. A greeting.
You are right, some parts have security seals, but in this case they do not have, at least not gigabytes since I did maintenance on a 1080, 1070 and 1060.
I also usually change the heating pads
I thought about it, but as I said, before moving forward I have consulted it and the recommendation was that it was not necessary. Surely it would have helped lower the temperature by a further two degrees but I highly doubt that the improvement was significant to offset the expense.
There are errors in the publication.
1) The brush has to be “anti static”, because with the one in the photo it is quite easy to damage the graphics RAM.
2) Replacing the pads it is important to maintain the thickness of the pads and the quality, not just any would be valid for this maneuver.
Any job seems easy explaining it step by step, but there is always "something"
Thanks for the feedback. In this case, the brush was only used to clean the plastic case and the fans, that is why the publication does not say anything, in fact it never says to pass the bit through the plate, the fact of the pads is necessary to maintain the thickness when they are changed, in case of having changed them or suggesting to change them, I would have commented on it.